Mountain biking takes you deep into nature, often onto unfamiliar trails where good navigation is really important. Trail markers play a major role in keeping you safe and heading in the right direction. I remember my first time out on a bigger trail system. I was completely overwhelmed by the variety of signs and colors. Over time, I learned that understanding mountain biking trail markers saves confusion and helps you make the most of every ride. Here, I’m going to break down how to read and truly understand mountain biking trail markers, especially if you’re starting out or just want to feel more confident on new singletrack.
Why Mountain Biking Trail Markers Matter
Mountain biking trails come in all shapes and skill levels, and each network tends to have its own system of colored markers and symbols. Recognizing these keeps you on course, away from danger, and ensures you’re riding a route suited to your experience. Once, while riding trails in a large forest near home, I followed a wrong marker and found myself on an expert-only section. That experience convinced me to start taking trail markers more seriously.
Trail systems have grown quickly in popular biking areas, and land managers are careful about clear marking for everyone’s safety. Missing just one sign can lead to confusion, frustration, or getting lost. On organized trails, especially in places maintained by local mountain bike groups or park services, trail markers are part of a planned network to guide riders toward the routes that fit their ability and goals.
Types of Trail Markers and What They Mean
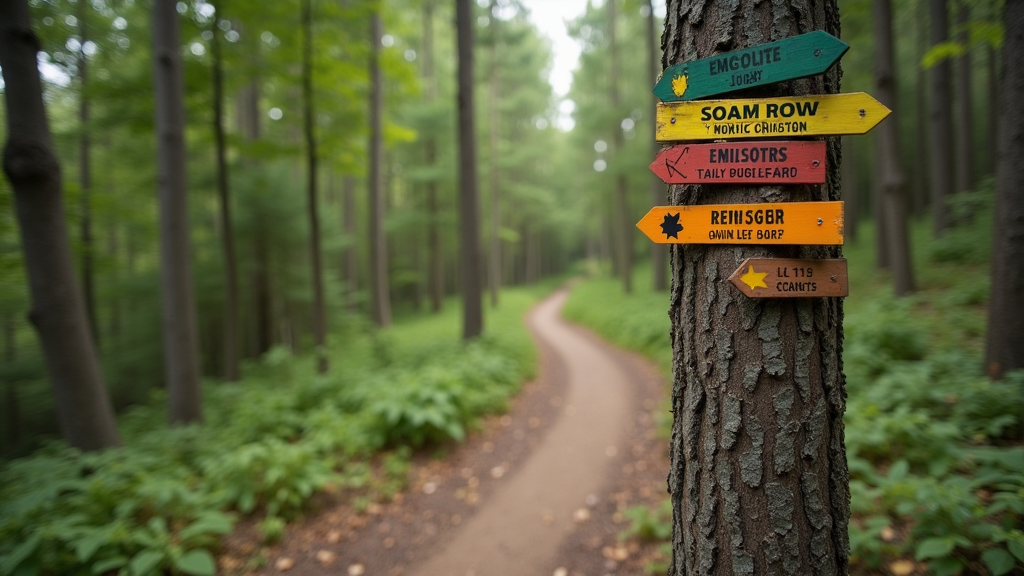
Trail markers usually come in a few different forms: painted blazes on trees or rocks, wooden or metal posts with colored plastic, small plaques, or even flagging tape in new areas. Most systems use a combination of colors and shapes, much like ski trails, to show both trail difficulty and direction. Here’s what you’ll probably encounter:
- Color Coding for Difficulty. Most common color systems use green (easiest), blue (intermediate), black (advanced), and sometimes double black (expert only) to show trail challenge. This mirrors what’s used at ski resorts, so if you ski, you’ll see similarities.
- Trail Names and Numbers. Signs often include names or numbers. Names can be whimsical or descriptive, while numbers usually relate to a map or guidebook. Trail junction signs will often show multiple arrows with trail names.
- Arrows and Symbols. Arrows show which way to go at a split or junction. Some markers also include symbols for features like jumps, drops, bridges, or technical sections.
- Loop or Connector Information. Loops are often marked with one color, and connector trails with another or by dashed lines. Knowing this helps you stay on the main route or connect back to the trailhead.
How to Interpret Common Trail Marker Colors and Symbols
The most widely used color progression for trail difficulty comes straight from international standards, but local clubs occasionally do something different, so always check the trailhead map. Here’s a common guide based on my rides across different states:
- Green Circle. Easiest. Wide path, smooth surface, low grades, no technical obstacles. Good for beginners and families.
- Blue Square. Intermediate. Some roots, rocks, tighter turns, and small climbs. I like blue trails for a relaxed but engaging ride.
- Black Diamond. Advanced. Expect steep grades, technical features, big roots or rocks, larger drops or jumps. These trails are best for experienced riders.
- Double Black Diamond. Expert. These include extremely technical or steep terrain that requires strong bike handling and confidence. I only ride these if I’ve seen the trail or know exactly what’s ahead.
Other symbols include:
- Arrow Signs. Usually indicate direction for one way trails or recommended direction for flow trails. Always follow these for your own safety and to avoid head-on traffic.
- Trail Features. Jumps, drops, or bridges are sometimes indicated by small icons on the marker. Look out for these so you don’t get surprised by an obstacle you weren’t expecting.
- Distance and Elevation. Some trails include mileage or elevation change on signs. I’ve found this really helpful when pacing long rides or picking trails late in the day.
Reading a Trail Map and Matching It to Markers
It’s super important to study the posted map at the trailhead before you start. The map should match the colors, names, and symbols you see on the trail marker posts. I recommend snapping a photo of the map with your phone for quick reference. Trail maps will also show the general shape of loops, spurs, connectors, and where different trails intersect, which you can then match with corresponding junction markers as you ride.
Bringing a printed map or downloading a GPS track to your phone is a great backup. Apps like Trail forks and MTB Project let you follow your route in real time and see marker references along the way. I’ve found these to be lifesavers more than once in new networks. Having a GPS device with the trail loaded is another safeguard for longer rides.
Tips for Recognizing and Using Trail Markers Effectively
- Check the Legend. Every trail network has a legend, usually posted at the trailhead or trail center kiosk. It explains what the colors and shapes mean for that location. A quick check saves a ton of confusion.
- Look for Consistency. Trail markers should match what you saw at the start. If something seems odd (like a color changing midway), stop and re-check your map. This can prevent riding the wrong trail by accident.
- Pay Attention at Junctions. Most mistakes happen at junctions where trails cross or split. Stop, look for all signs, and double-check directions before continuing. It’s easy to rush and end up off your intended route.
- Keep an Eye for Temporary Markings. During race events or when sections are being maintained, you might see temporary arrows or flags. These often mean a detour, so treat them seriously.
- Don’t Ignore “Yield” and Caution Markers. These special markers let you know when to slow down, who has right of way (like hikers or horses), or when a trail merges with a road. Respecting these ensures everyone’s safety and keeps trail relations positive.
Handling Common Trail Marker Challenges
- Missing or Faded Markers. Trails sometimes lose markers to the weather, vandalism, or age. If you stop seeing signs, retrace your path to the last marker or use your GPS. Carrying a small map or having a backup navigation plan helps too.
- Confusing Markings. Occasionally, old and new color systems overlap. Ask other riders or staff at the trailhead if you’re unsure. I always find that local riders like to help newcomers out, and you can often pick up handy tips about trail changes from others.
- Seasonal Changes. Trails can be re-routed for erosion or wildlife. In the fall, fallen leaves sometimes hide ground level posts. Stay alert and rely on your map and GPS when needed, and watch for extra signage posted at the trailhead about reroutes or closures.
- Multiuse Signs. Some trail markers also serve hikers, runners, or equestrians. Always check if your intended trail is open to bikes, especially in mixeduse areas. Trail etiquette is crucial to keep everyone safe and trail access maintained for mountain bikers.
In my own rides, I’ve learned that trail systems maintained by mountain bike clubs usually have the clearest, most consistent marking. When in doubt, asking at the local bike shop or ranger station gives reliable info about trail difficulty, direction, and recent changes.
Using Trail Markers for Better Trail Decisions
I always use markers to plan my route as I ride to avoid getting stuck on a trail that’s too long or difficult for my available time and energy. Knowing when the blue trail branches into black diamond options helps me avoid steep climbs on tired legs. If I see an unexpected symbol for a big drop or technical feature, I slow down or walk the bike to check it out first.
Riders with less experience can use trail markers to build confidence by sticking to clearly marked beginner and intermediate routes. As you get familiar with your favorite trail network, you might use markers to create custom loops, link easy sections together, or try out new spurs. Over time, learning the signs and their meanings can turn a confusing web of routes into a series of fun options that you can mix and match for a perfect outing. Some riders even enjoy mapping their own loop with markers as checkpoints, making each ride fresh and unique.
Local trail clubs sometimes host group rides or skills clinics that emphasize trail navigation skills. If you’re unsure about reading markers or want to practice choosing routes, check if such events are available in your area. These group settings also provide a chance to meet fellow riders and share tips or stories, strengthening the local riding community.
Frequently Asked Questions
How do I know if a trail is too hard for me?
The color marker on the post gives a quick idea. Green is easiest and black is most challenging. If you’re new, stick to green and sprinkle in short blue sections as you get comfortable. Don’t hesitate to turn back if a section looks above your skill level; there’s no shame in choosing the safer path.
What should I do if I get lost or miss a marker?
Stop, check your phone for the map photo, and retrace your steps to the last marker you remember. Stay calm and look for other riders or a main trail that heads back toward the trailhead. If you’re in a larger network, don’t hesitate to call the park office if you have signal and feel uncomfortable continuing alone.
Are all trail marker systems the same everywhere?
No, but most share the same color progression for difficulty. Always check the specific legend at each trailhead, especially when traveling to a new area. Trail clubs sometimes have their own unique twists on marking, so reading the posted info is worthwhile.
Key Takeaways for Confident Trail Marker Reading
Recognizing, understanding, and using mountain biking trail markers improves your ride by keeping you safe, efficient, and in the right skill zone. Experience on different trails makes reading these markers second nature, but even seasoned riders like me check the legend and map first. If you’re ever unsure, taking a few seconds to double-check a marker beats the stress of getting lost or hiking out in the dark. Riding with a buddy, carrying a printed backup map, and using trail apps make the experience a lot smoother. Enjoy your next ride and let trail markers be your silent guide for a safe and memorable adventure.